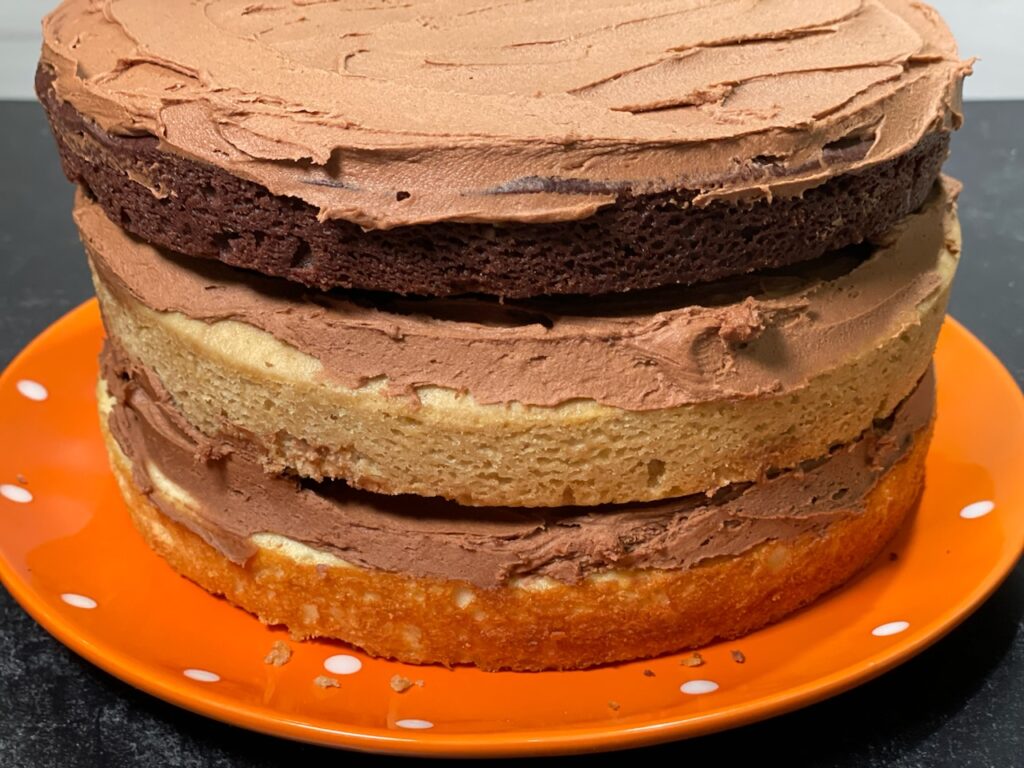
Oh my! We absolutely love both making and eating this delicious ombre layer cake with chocolate, vanilla, and coffee layers, chocolate mousse filling, chocolate buttercream frosting and a white chocolate ganache drip over everything! It’s a project all right, but a really fun one and so worth it! It’s a work of art that you can do at home. You will just need to buy or borrow a few kitchen gadgets and, if you love baking, those are items you’ll always be happy to have on hand. For the cake layers, you can actually make the cake layers any flavor you like, but we loved the shades of the vanilla, coffee and chocolate layers together. We started with Sally’s Baking Addiction The Best Vanilla Cake I’ve Ever Had and transformed two of the layers from vanilla into a chocolate layer and a coffee flavored layer to give the ombre effect. Her recipe worked amazingly well for our cake.
Ombre cakes are so beautiful and delicious, too. It’s just so much fun having the surprise of different colors of cake layers once you cut into the cake! When I first made this cake, I actually used three totally different recipes for each layer, which was extremely cumbersome and confusing. Trying to get equivalent amounts of batter for each layer by dividing the recipe either in halves or thirds, was difficult and the texture of each layer was completely different. I used our favorite Simply & Divinely Chocolate Cake for the top layer, which uses oil instead of butter, so the cake was much more dense and moist than the other two layers.
Still, having started the project and getting some great photos, I was really eager to post it. But, I started writing up the recipe only to abandon it, after realizing this ombre cake would have to be made with just one basic cake recipe instead of three if anyone was ever going to try for making it! It would have to start with a vanilla cake in order to get the color variation, since the coffee layer would be darker and the chocolate layer even more so.
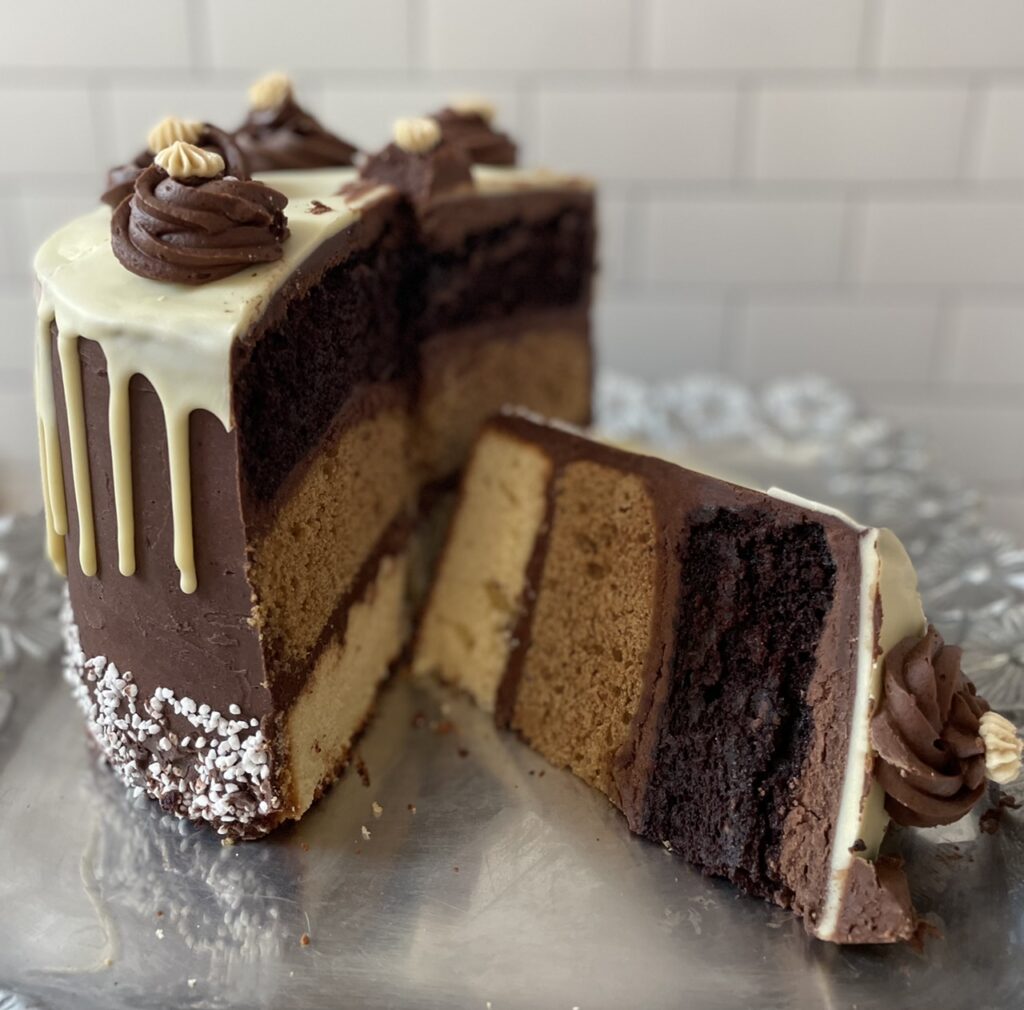
After researching the best vanilla cake recipes, I was so excited to find Sally’s Baking Blog Best Vanilla Cake. What I loved about the recipe was that it made three layers, which I needed, and the batter would work for all three flavors right up to the addition of the last ingredient, which is the buttermilk. It was so lucky that the buttermilk just happened to be the very last ingredient added to her cake, which made creating the differently flavors super easy. Not that it saves on dishes, because you will need a different bowl for each flavor, but at the least making the batter is all the same in one bowl until the very last ingredient!
For the vanilla layer, we just used the recipe as it is written, but before adding the buttermilk, we divided the batter equally into three bowls. For the vanilla layer, we then just added the buttermilk. For the coffee layer, we dissolved instant espresso or coffee into the buttermilk before adding it to the batter, and for the final, chocolate layer, we added one-half cup of really good quality, Dutch process cocoa powder to the buttermilk, plus two extra tablespoons of buttermilk to account for the extra dries of the cocoa powder.
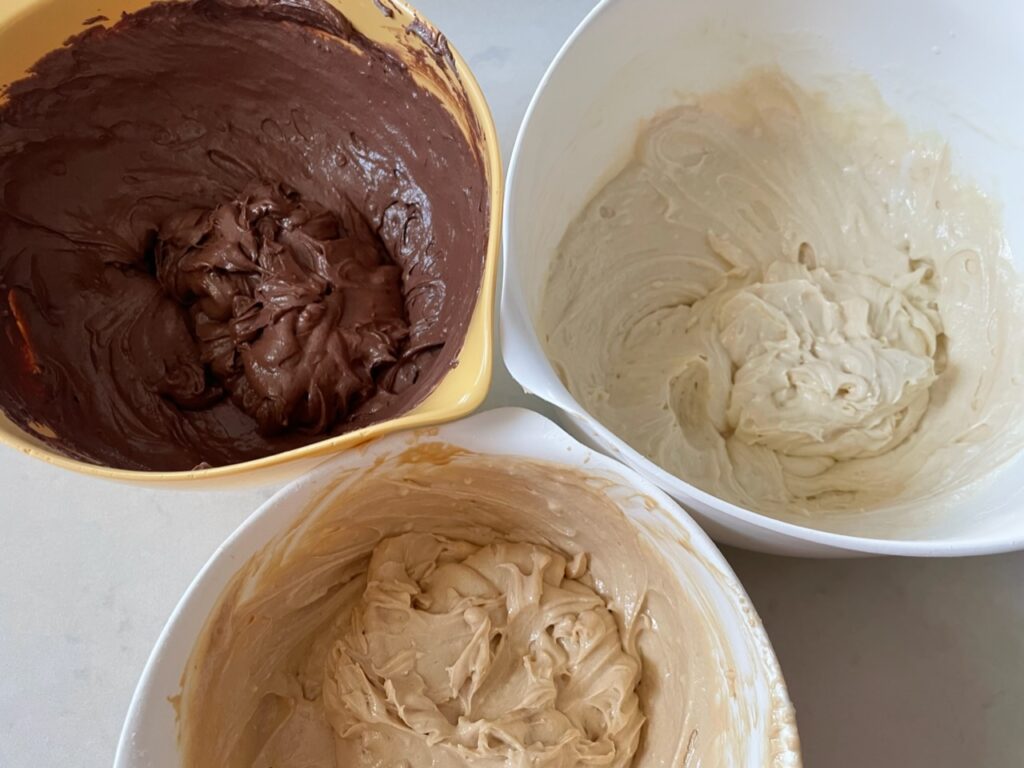
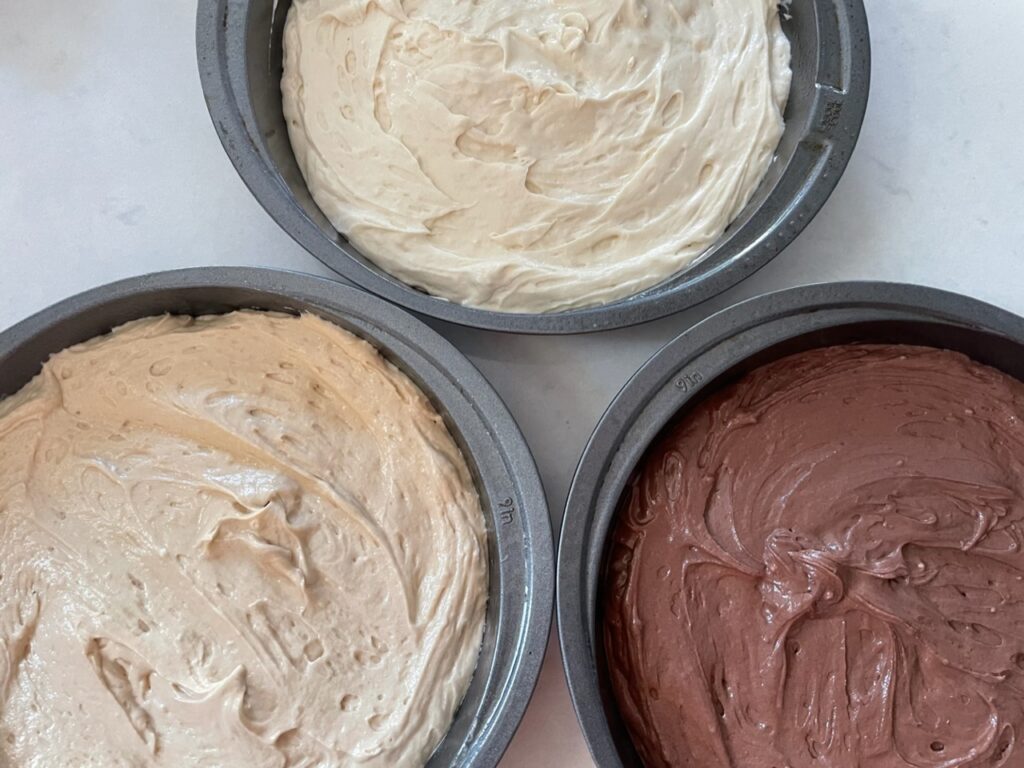
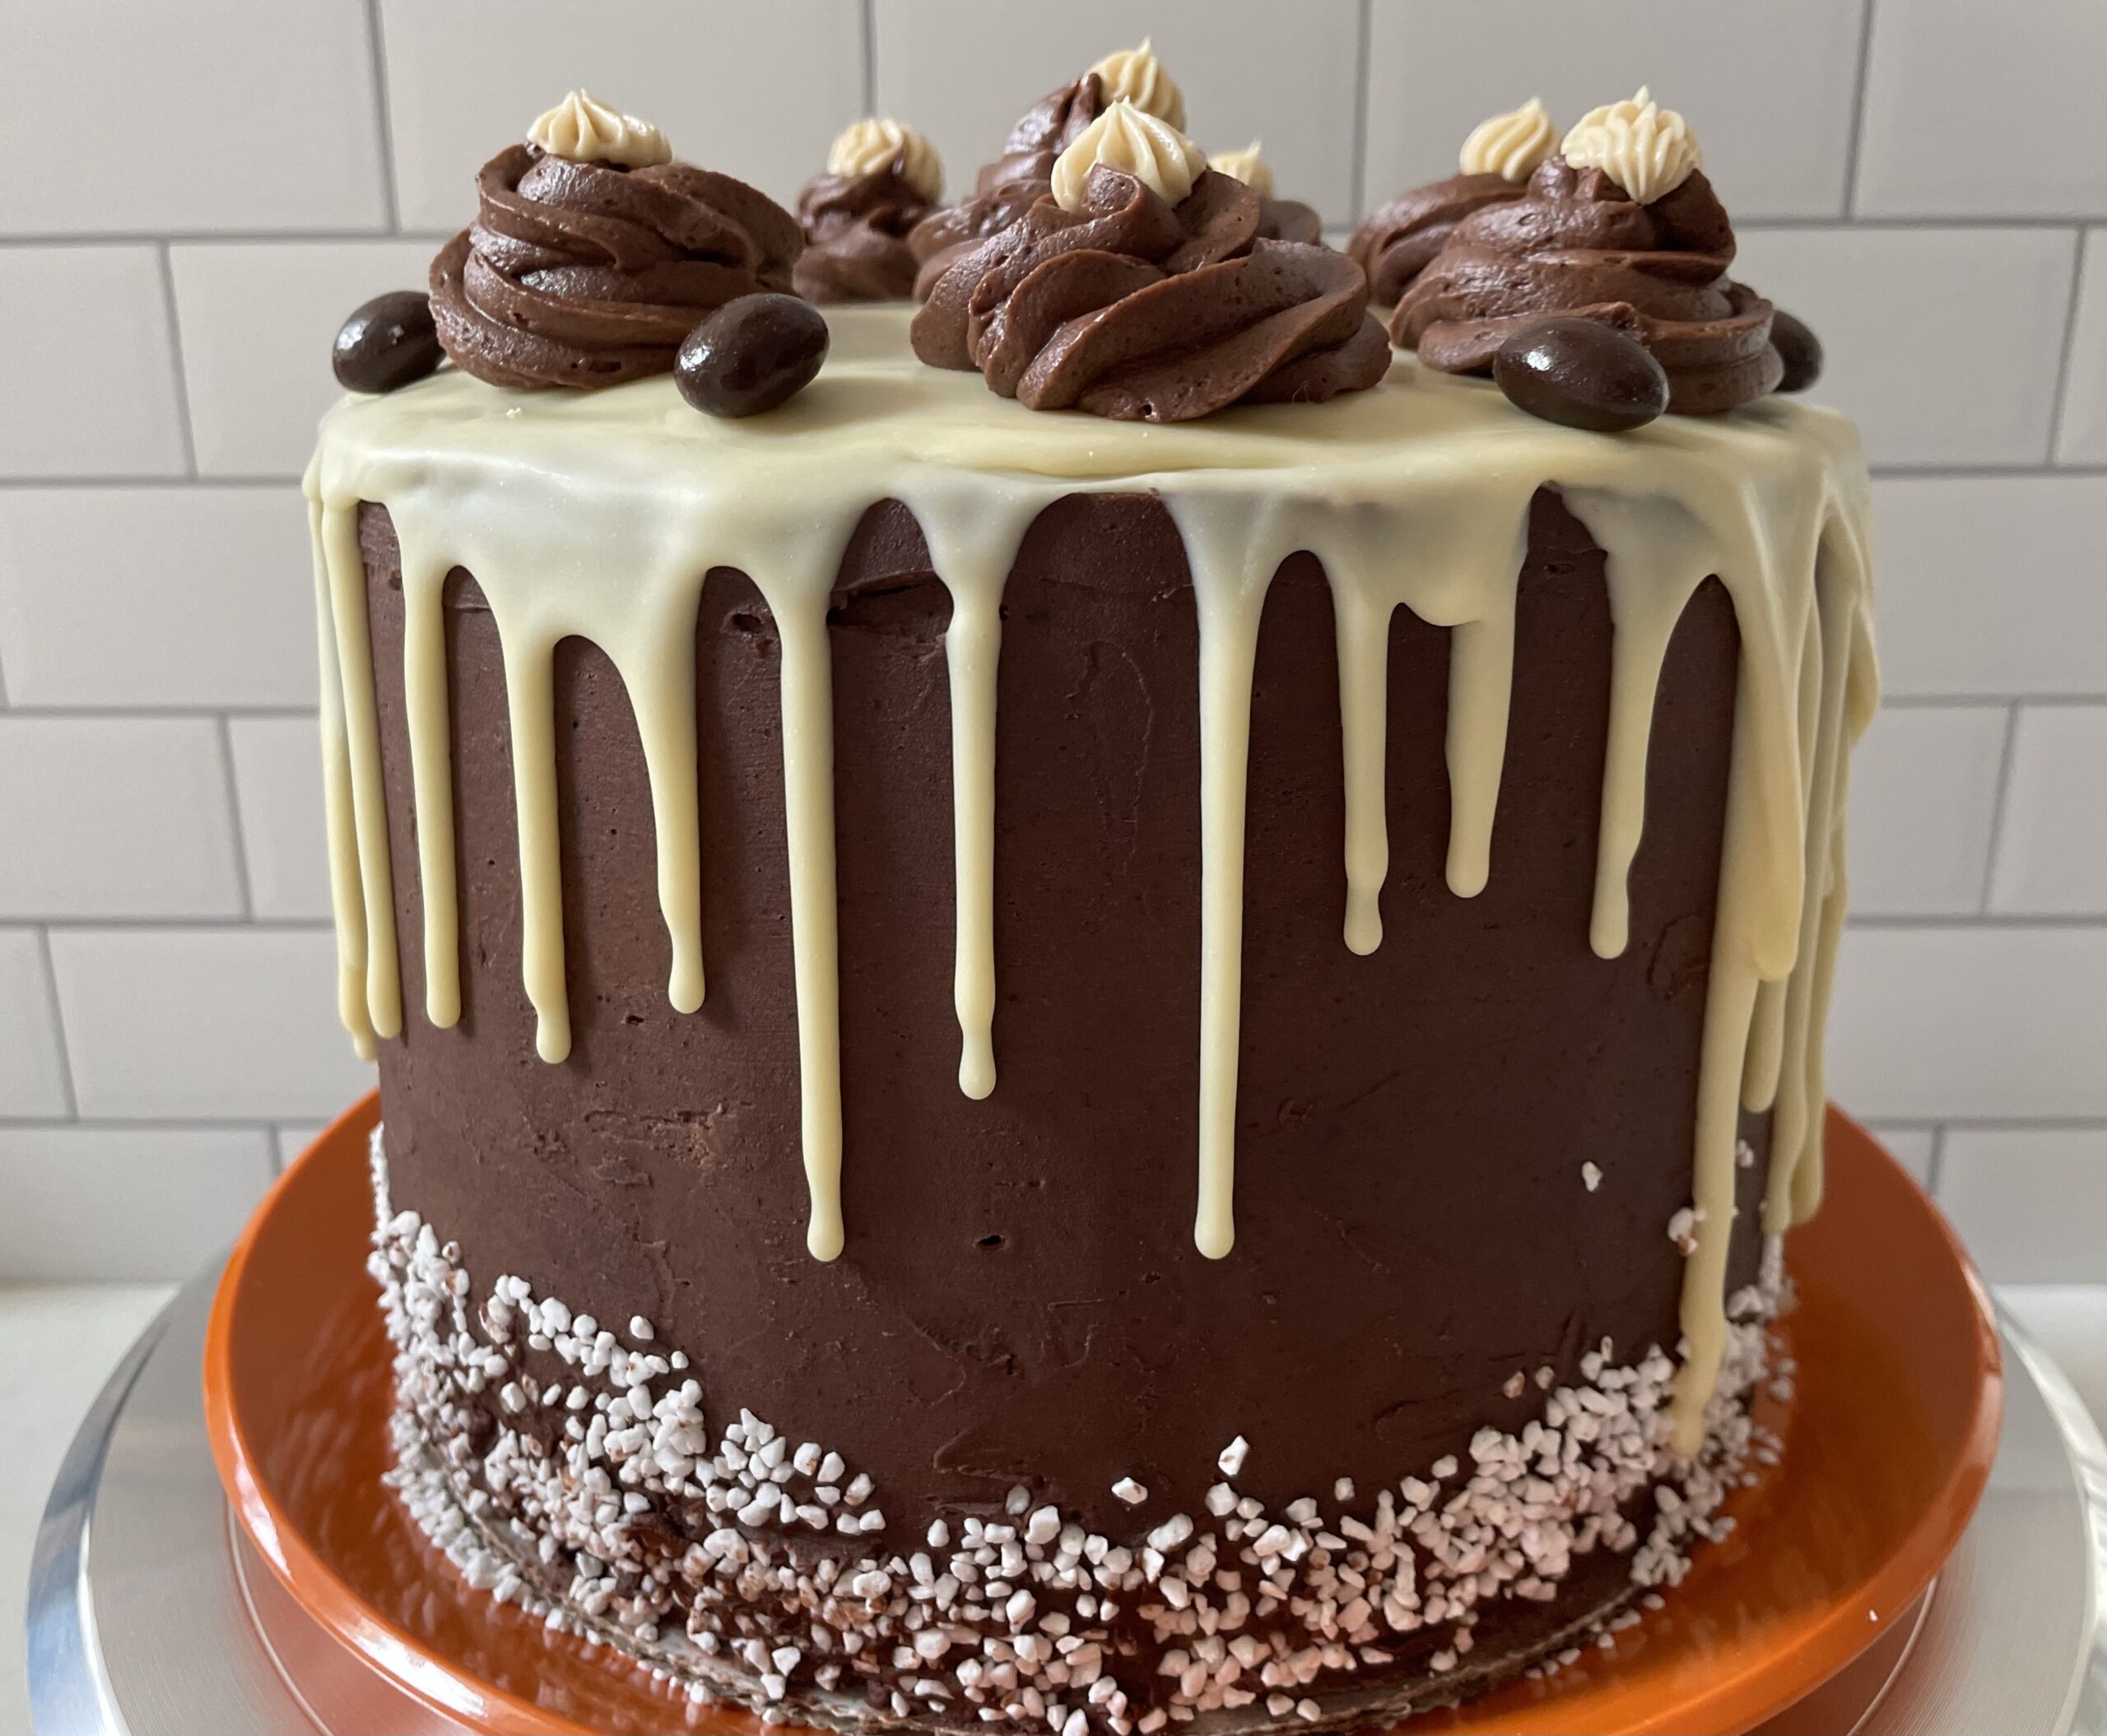
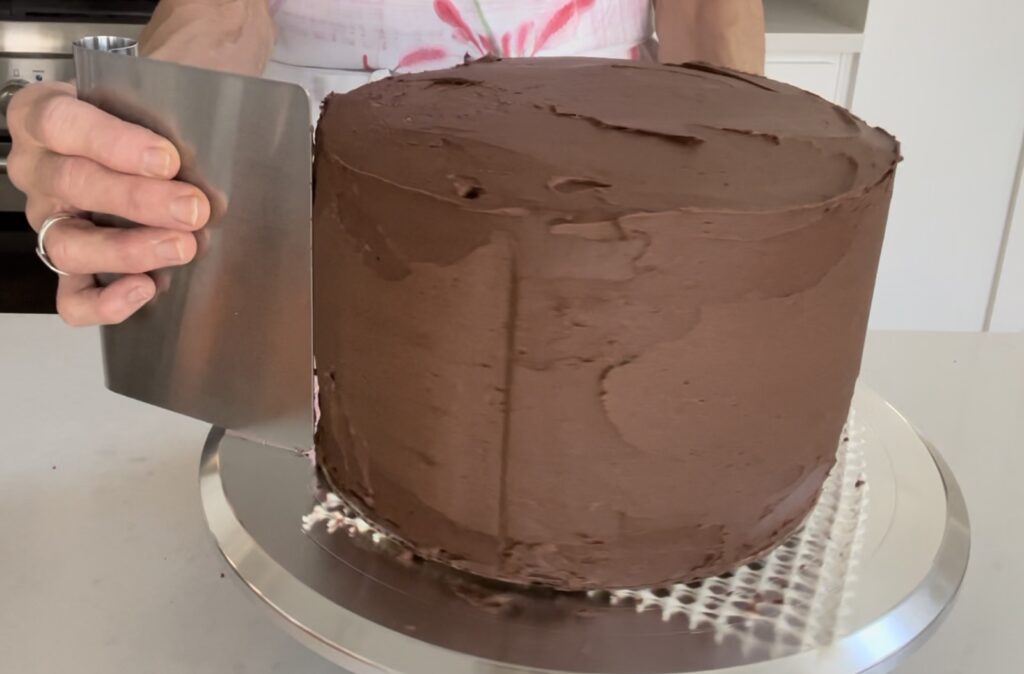
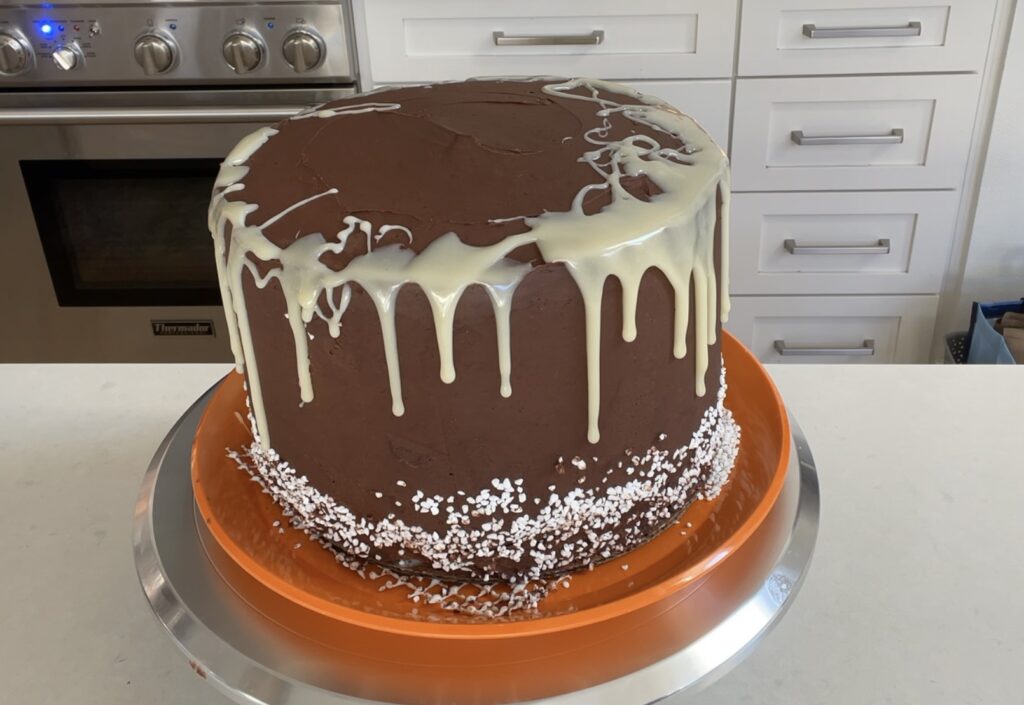
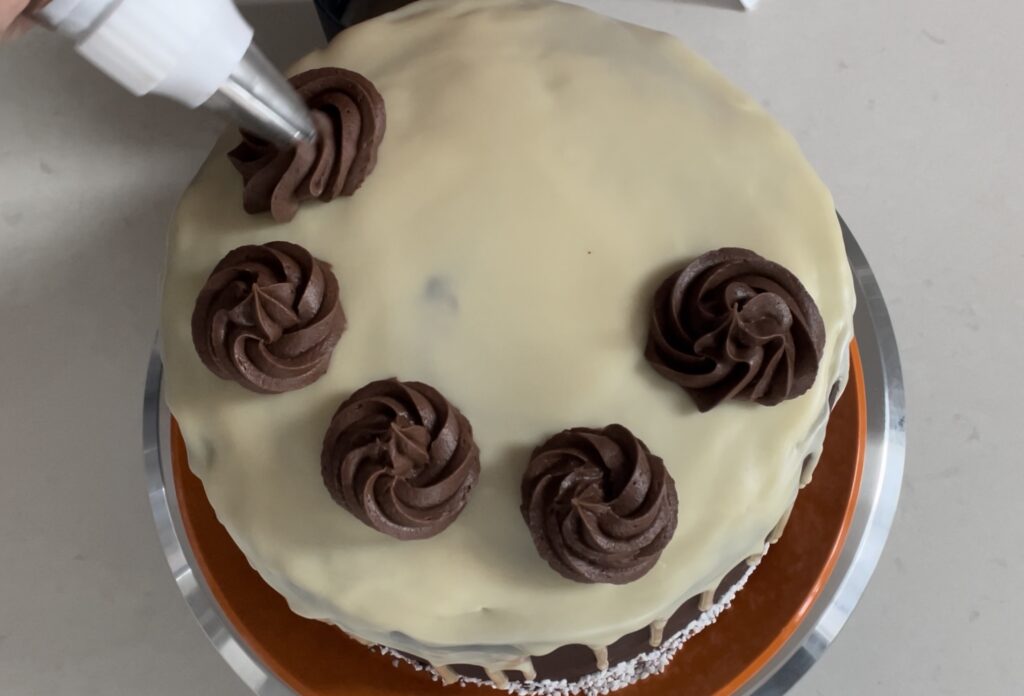
This worked out beautifully, and now you can make your own ombre layer cake too! Use either buttercream frosting or chocolate mousse filling between layers, and a buttercream frosting for the outside edge, smoothing it out with a pastry bench tool. Then, while spinning the cake on a cake spinner, drizzle white chocolate ganache around the very top edges of the cake, allowing it to drip down the sides. Finish it off with the chocolate and coffee flavored frosting swirls, chocolate cover espresso beans and edge the bottom sides with Swedish flake sugar, and you have a masterpiece to serve at your next party!
See the video at the end of the blog for instructions on how to smooth the frosting and create the ganache drizzles.
***But, also keep in mind, that if you just want the ombre layer cake with frosting and filling, you have no need for all of the fancy tools. Just fill the mousse in between the layers and frost the outside of the cake with the buttercream frosting, and don’t worry about the white chocolate drizzle or swirls on top of the cake! It will be plenty delicious! 🍰
Oh, and a few more things to chat about … do your cakes ever end up looking wobbly, lopsided, or looking like Half Dome on top? Our always did and we either lived with a wobbly cake, or we cut off the tops until they were flat enough to stack properly, until a friend shared her secret for how to make perfectly flat cake layers! To make the tops of your cake layers flat instead of domed shaped, use Wilton’s Magic Cake Strips, soaked and wrapped around the sides of each cake pan. This makes it easier to assemble and frost the cake!
Plus we could never make the frosting look super smooth until we discovered the pastry bench scraper as the best way to smooth out the frosting on the sides of the cake. It works like a charm:) We have a few tricks up our sleeves for making cakes that look like this! You need to have these items handy in order to make beautiful cakes:
- Bake Even Cake Strips
- Pastry Dough Bench Scraper
- Rotating Cake Turntable
- Cardboard Cake Rounds
- Pastry Bags
- Decorating Tips #824 & #32 Open Star Tips
- Complementary Couplers for the Decorating Tips
- Long Frosting Offset Spatula

Ombre Layer Cake: Vanilla, Coffee & Chocolate
Equipment
- 3 Bake Even Cake Strips Optional
- 1 Pastry Dough Bench Scraper
- 1 Rotating cake turntable
- 3 Pastry bags Can use disposable plastic pastry bags
- 1 Cake Decorating Open Star Tip #824 Plus the complementary couplers
- 1 Cake Decorating Open Star Tip #32 Plus the complementary couplers
- 1 Offset Frosting spatula with an 8-inch blade
Ingredients
Cake Layers Using Sally’s Bake Blog Best Vanilla Cake recipe as the base with Chocolate and Coffee Cake adaptions
- 3 2/3 cups cake flour level cups
- 1 tsp. salt
- 2 tsp. baking powder (aluminum-free) Such as Rumford’s, Whole Foods or Trader Joe’s
- 3/4 tsp. baking soda
- 1 1/2 cups unsalted butter, softened to room temp 12 oz. or 3 sticks
- 2 cups granulated sugar
- 3 large eggs, at room temp
- 2 large egg whites, at room temp
- 1 tbsp. pure vanilla extract
- 1 1/2 cups buttermilk, divided into 3 half cups 1/2 cup for each layer
- 2 tbsp. buttermilk (for the chocolate layer)
- 1/2 cup unsweetened cocoa powder (for the chocolate layer) Dutch process
- 1 tsp. instant espresso or coffee powder (for the coffee layer)
Dark Chocolate Mousse Filling
- 1/2 cup hot water
- 4 tbsp. unsweetened cocoa powder Dutch process
- 1 1/2 cups dark or bittersweet chocolate chips
- 2 cups heavy whipping cream
- 2 tbsp. powdered sugar
- 1 tsp. pure vanilla extract
- 1 tsp. arrowroot powder or cornstarch for whipped cream stabilizer optional
Chocolate Buttercream Frosting
- 8 oz. unsalted butter, at room temp 2 sticks or 1 cup
- 1/2 cup sifted unsweetened cocoa powder
- 6 cups powdered sugar, sifted
- 2 tsp. pure vanilla extract
- 1/4 cup milk
White Chocolate Ganache
- 12 oz. real white chocolate chips or bars
- 1/4 cup heavy cream
Garnish
- 10 dark chocolate covered espresso beans
- 10 oz. Swedish Pearl Sugar
Instructions
Cake Layers
- You can make the cakes well ahead of time and refrigerate them or even freeze them, until you’re ready to assemble the cake.
- Preheat oven to 350 °F. Spray the bottoms of the 3 cake pans with cooking spray. Then line the bottoms with parchment paper rounds cut out to fit the bottom of the pans. Finally, spray the parchment paper. This will all help to get the cakes out of the pans easily.
- Sift flour, salt, baking powder and baking soda in a medium bowl. Set aside.
- Divide the buttermilk into three small bowls, 1/2 cup in each. To one, whisk in the powdered espresso/coffee. To the second add the two extra tablespoons of buttermilk and whisk in the cocoa powder. Leave the third one alone. Set all of them aside for now.
- In the bowl of your standing mixer, or using a handheld beater, beat the butter and sugar together until light and fluffy, about 3 minutes. Scrape down the sides of the bowl with a rubber spatula.
- Add eggs, egg whites and vanilla and beat until well-incorporated, scraping the sides of the bowl as necessary.
- Now, with the beater on low speed, slowly add the dry mixture and beat until blended.
- Divide the batter evenly into three bowls, weighing them if necessary to ensure even layers.
- Add the plain buttermilk to one, the coffee buttermilk to another and the cocoa buttermilk to the third. Whisking each until blended.

- Pour the batters into the three different pans and bake for about 22-25 minutes, or until a cake tester comes out clean. Remove from oven and cool on a rack for about 15 minutes. Then, carefully, turn the cakes out the cake pans and directly onto the cooling rack. You can leave the parchment under each layer until you’re ready to assemble the final cake.

Chocolate Mousse Filling
- Melt chocolate over low heat, stirring occasionally, until melted and smooth. Cool to room temp.
- Blend water and cocoa powder in a small bowl and whisk until smooth. Blend melted chocolate and cocoa mixture until smooth.
- Beat heavy cream to stiff peaks. Stir in powdered sugar and vanilla. Slowly fold in the chocolate mixture. If you use whipped cream stabilizer, blend that in at this time, too. Refrigerate until ready to assemble cake.
Chocolate Buttercream Frosting
- Place butter in a large bowl, or the bowl of your standing mixer. Beat on high until the butter is very creamy and beginning to get light in color, about 3 minutes or so.
- Carefully blend in cocoa powder with the mixer on low speed, until well-blended.
- Add sifted powdered sugar, one cup at a time, and beat well after each addition, scraping down the sides of the bowl after each addition. Reserve 1/2 cup of the powdered sugar for any adjustments you may need after you add the liquids. Add vanilla and half of the milk. Beat well. Now, add remaining milk and powdered sugar alternately, ending with the powdered sugar. Add additional powered sugar and milk as needed for a good spreading consistency.
White Chocolate Ganache
- Melt white chocolate with cream over low heat until melted. Blend well. Cool down to room temp and just until the mixture slowly drips off the end of a spoon. Drizzle on the edges of the frosted cake when it gets to that consistency. If it’s too runny, allow it to sit a little longer and if it’s not runny enough, microwave if for 10 seconds at a time to get to the right consistency.
Assemble Cake
- Place the cake layer you want to be on the bottom on a piece of cardboard on your cake turntable. If your turntable is slippery, then place a rubber glove or a washcloth under the cardboard or plate to keep it in place.
- Spread half of the mousse filling over the bottom cake layer. Then place the next layer on top of that. Spread the second half of the mousse filling over the second cake layer, and place the remaining cake layer on top!

- Using an offset spatula, frosting the entire tops and sides of the cake with the buttercream frosting. Using the bench scraper, smooth the top and sides while spinning the cake on the spinner. You will have to apply some pressure to make it really smooth. Use your other hand to steady the spinner as you go.

- Lifting from the cardboard or using a couple of large spatulas, move the cake onto your final serving cake plate for the final assembly.
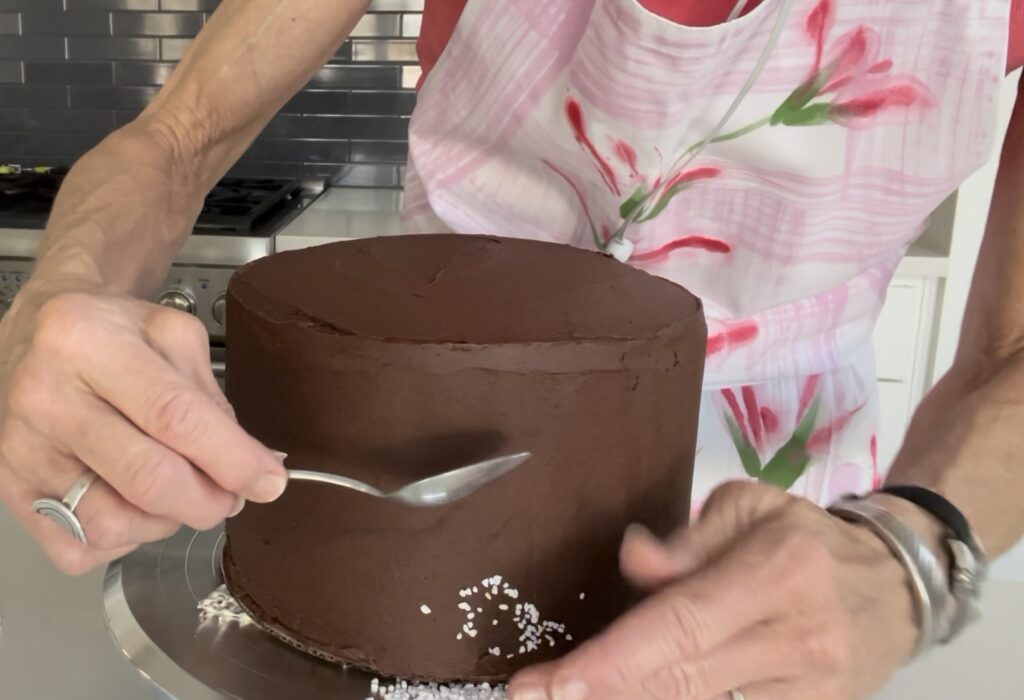
- Pat the Swedish pearl sugar along the bottom edge of the cake to cover up any rough spots!

- Once completely smooth and pearl sugared, refrigerate for about 15 minutes to let the frosting harden a bit.
- Now, you are going to start your white chocolate drizzle by spooning the ganache near the top edges of the cake. See video. Allow the ganache to drizzle down the sides of the cake. Then, cover the top of the cake with the remaining ganache and smooth out with the offset cake spatula. Allow this to harden for about 15 minutes before adding your final frosting swirls.

- Using the cake decorating tips and couplers fitted onto a pasty bag, make your swirls on top of the cake. If you want to, you can also make a separate coffee-flavored frosting to make smaller stars on to of the larger chocolate stars.

- Place a chocolate covered espresso bean between in between each of the frosting swirls on top of the cake. Refrigerate until ready to serve. Allow to sit outside the refrigerator for about 10 minutes before serving.

Notes
- You can make the cake layers ahead of time and refrigerate or freeze them until ready to assemble them. You can do the same with the frosting, too. Just put them in airtight containers and store in the refrigerator.
- When you place the cake cardboard on the turntable, you may want to place a small washcloth or a small piece of rubber (even a rubber glove) under the cardboard to keep the cake from sliding on the turntable. Some turntables are very grippy, while others are slippery, and ours is pretty slippery!
- See the video in the blog post for instructions on how to smooth the frosting and create the ganache drizzles.
- But, also keep in mind, that if you just want the ombre layer cake with frosting and filling, you have no need for all of the fancy tools. Just fill the mousse in between the layers and frosting the outside of the cake with the buttercream frosting, and don’t worry about the white chocolate drizzle or swirls on top of the cake! It will be plenty delicious!

Looks like the amount of cocoa needed is missing from the chocolate buttercream frosting section.
Thank you for the catch! 1/2 cup sifted unsweetened cocoa powder for the chocolate buttercream frosting. Please send us a pic when you make this … we’d love to see it and know how you like it!