Our last peaches and plums of the season were destined for our peach-plum pie, but due to a sudden turn of events, they never made it! Instead, we went into canning mode and had a full-on jam session, making many jars of plum, peach and huckleberry jams. While we’ve made plenty of peach, apricot and even huckleberry jam, plum jam is fairly new to us! You rarely ever see plum jam in the grocery stores and we had no idea how easy and delicious it is, but it’s a definitely a new fav! It’s got just a hint of tartness, which is really good, and it comes together really quickly, made with just three ingredients: fruit, sugar and lemon juice!🍑🎶🍋
Even though summer fruit season is waning, you can still find peaches and plums at your local grocers all year long, and we plan to keep making this jam even during the winter months. But, there is nothing like local homegrown peaches and plums, so if your farmers’ market still has some to sell, pick up whatever you can and start jamming! It is so satisfying and homemade jams also make wonderful hostess or holiday gifts!
Be sure to store up on glass jars and new lids for this project and you will also need a big soup pot for sealing the jars once you fill them with jam.
Plum Jam
Equipment
- 8 oz. canning jars with sealable lids
- Soup pot
- Ladle
- Medium sized pot (1 per batch – if you want to muliply the recipe, use as many pots)
- Wire cooling rack
Ingredients
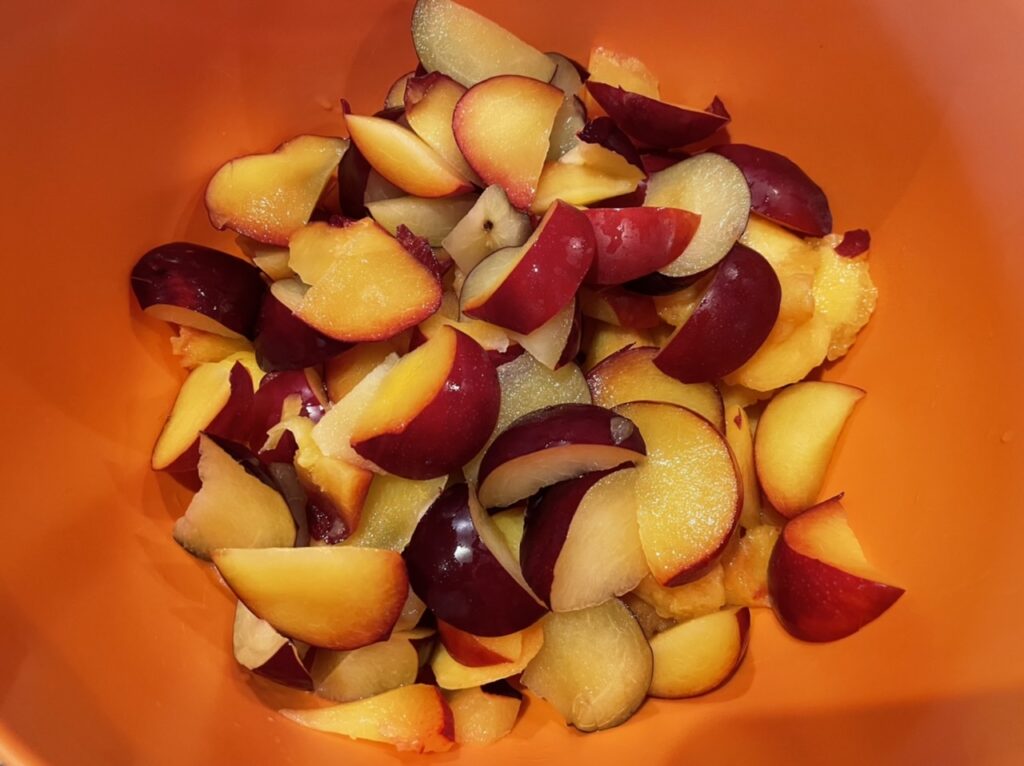
- 1 1/4 lbs. plums (we use a combination of black and red plums and leave the skins on)
- 1/2 cup granulated sugar
- 2 tsp. fresh lemon juice
Instructions
Making the Jam
- Clean and cut plums into small pieces, about 3/4 inch in size, discarding pits.

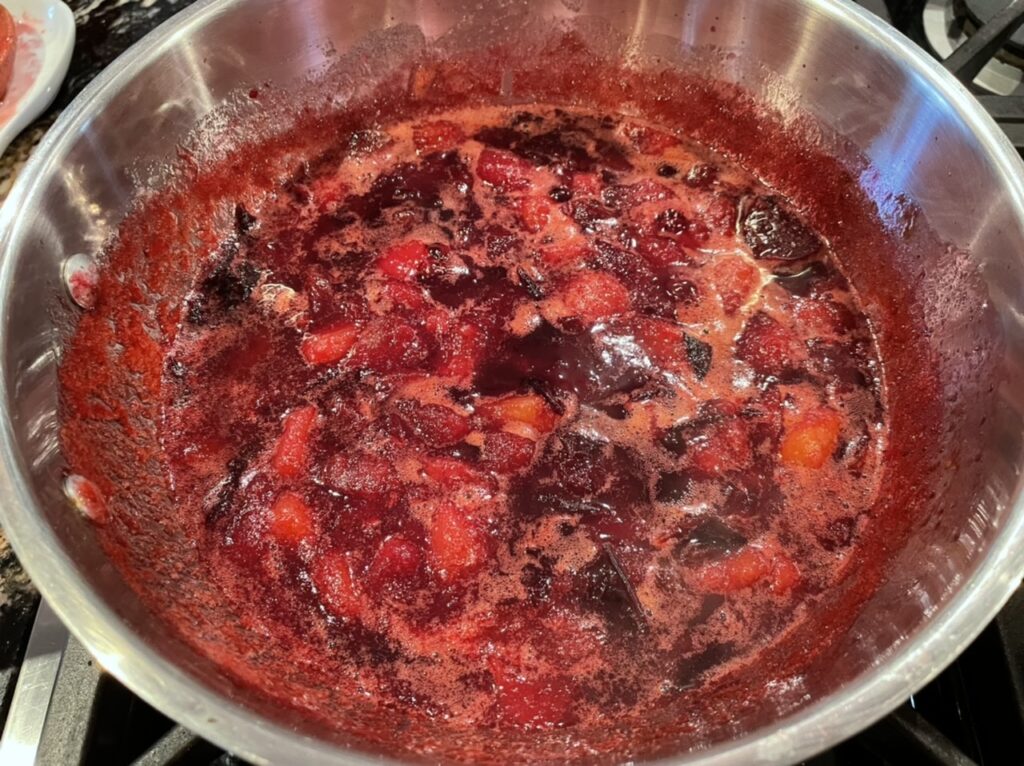
- Place cut plums into a medium-sized pot. Add sugar and mix well.
- Bring mixture to a boil over medium heat, stirring often. Once the mixture comes to a boil, add the lemon juice and continue to simmer at a low boil for 12 minutes, stirring occasionally. Remove the pot from the heat and cool to room temperature.

- Repeat Step 3 (boiling and cooling) two more times.
- Check the consistency once the jam is cooled to see if it is what you like, and if it is, simply bring to a boil one more time and immediately pour the hot jam it into the prepared jam jars. If it is a little too thin still, repeat the “boil for 12 minute” process one more time. Immediately pour into jars according to directions below.
Preparing the Jars – hot water bath
- Fill a soup pot about 2/3 full with water. Bring to a boil. This is your water bath.
- Carefully lower jars and lids in the boiling water to sterilize them. Remove from pot and place on a wire rack. (Keep a pot holder handy for this whole canning process!)
Filling and Sealing the Jam Jars
- Remove the sterilized jars and lids from the pot. Keep the water hot.
- Fill each jar to about 1/2 inch from the top with the hot jam. With a clean, damp paper towel, clean off any excess jam from the tops and sides of the jars.

- Place lids and rings back onto the jars.
- Using pot holders, (the jams jars will be very hot to hold) tighten the lids as tight as you can.
- Using a slotted spoon or trusty tongs, lower the jars into the soup pot. Bring the water back to a boil and boil for five minutes.
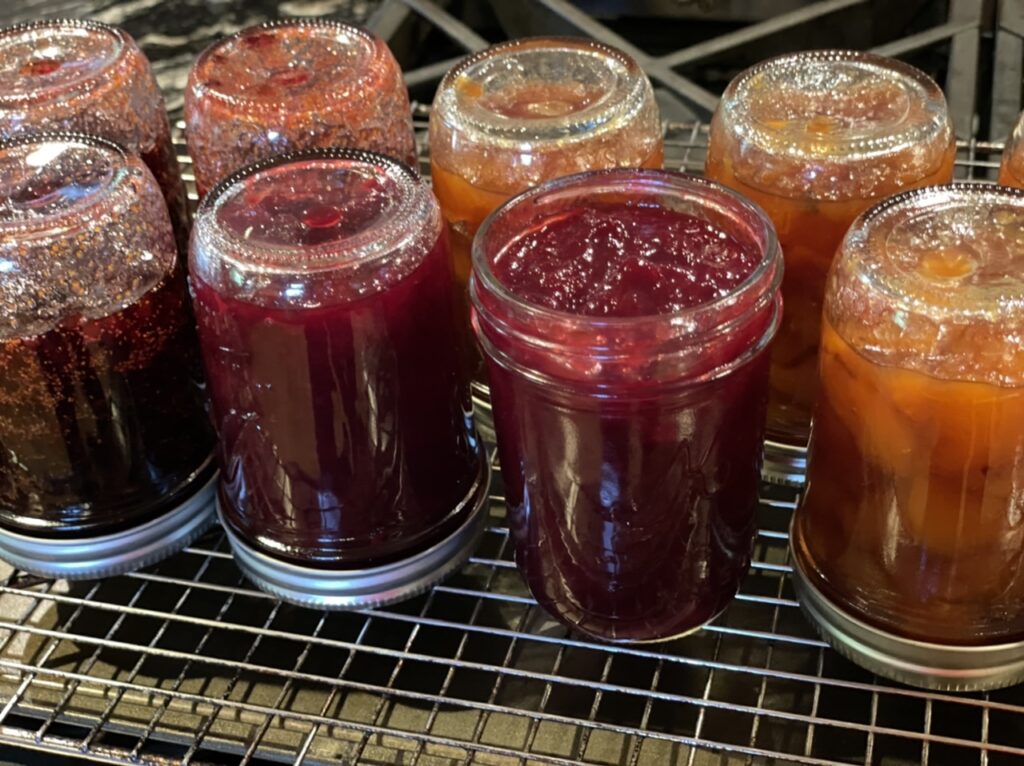
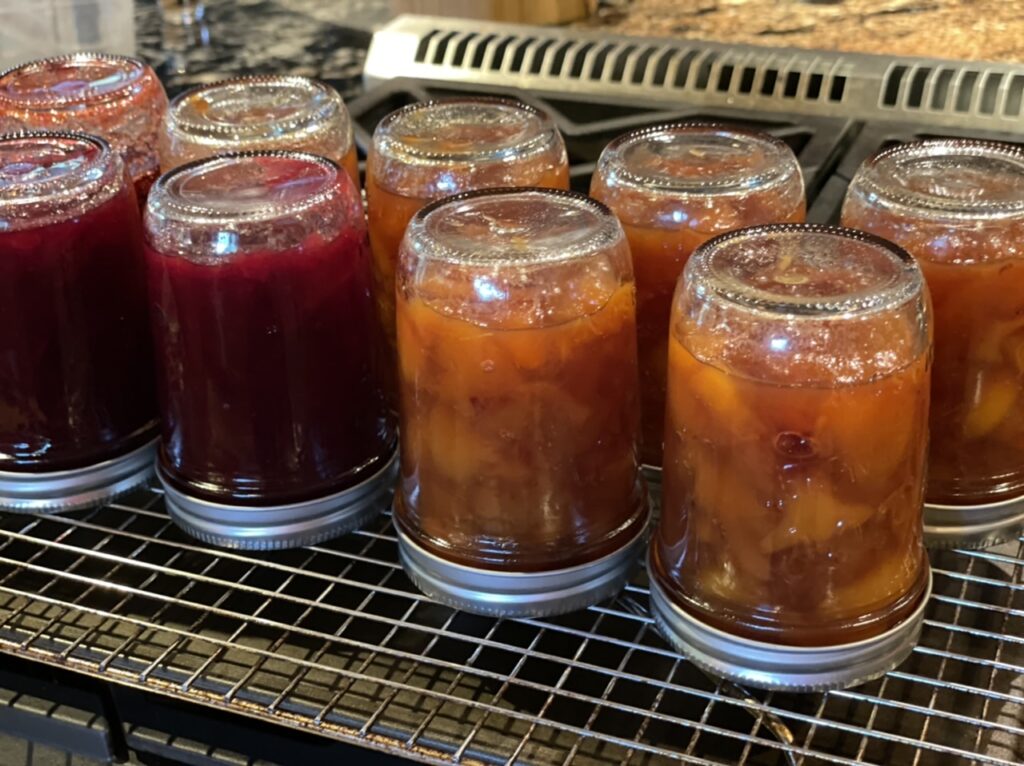
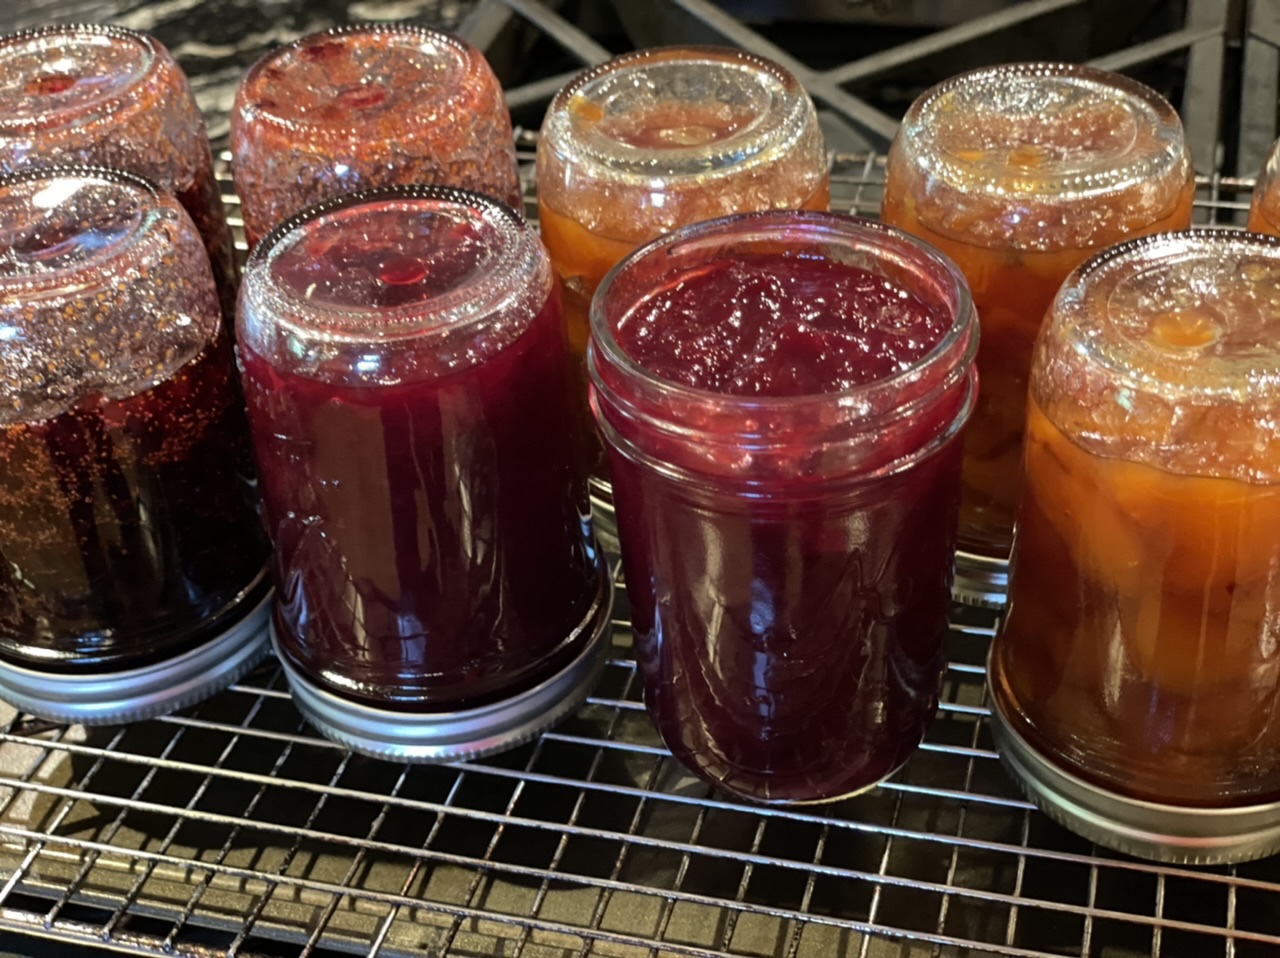
- Remove jars from the water bath and place them lid side down, on the wire rack.

- Allow jars to cool completely.
- When cool, turn jars right side up and press down on the lids. They should indent and seal. If they don’t, turn them back upside down. This sealing process can take up to several hours or more.
- If they don’t seal, you have two choices, prepare a new jar and lid and repeat the hot water bath process. Or, simply refrigerate and use until the jar is empty! This won’t take too long, we guarantee it!

