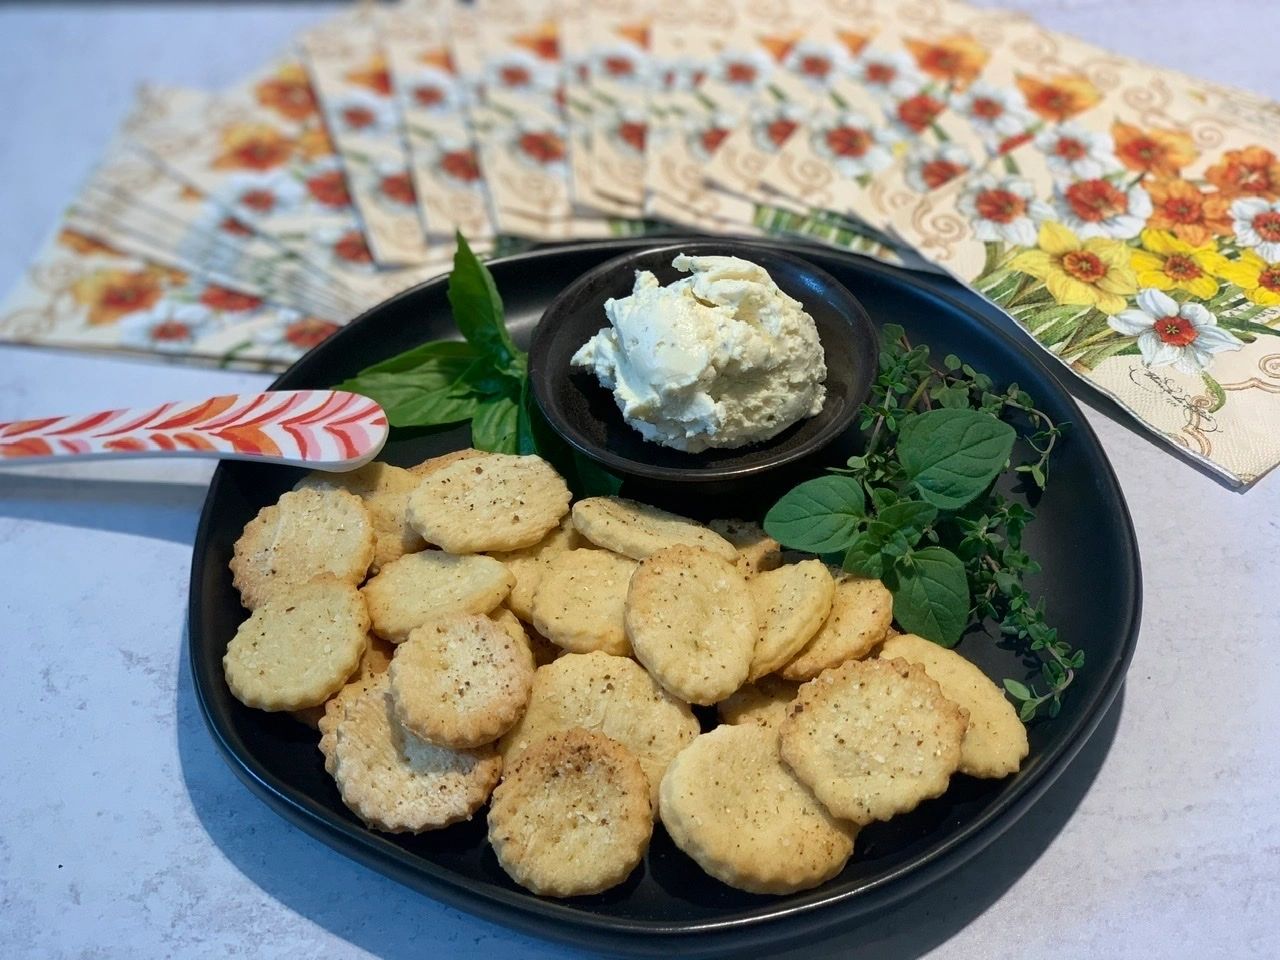
We had never, ever thought about making our own crackers until a cooking buddy sent me this recipe, which he had just tried and really liked. We have to say, it was super fun and the crackers are delicious. It’s a kick to lay out a cheese and cracker platter with your very own crackers! Just keep in mind that you should make them within a day or two of when you plan to use them, because they aren’t made with any type of preservatives. Let us know if you give this a try! They would be perfect with this Sundried Tomato-Kalamata Olive-Pesto Cheese Spread!
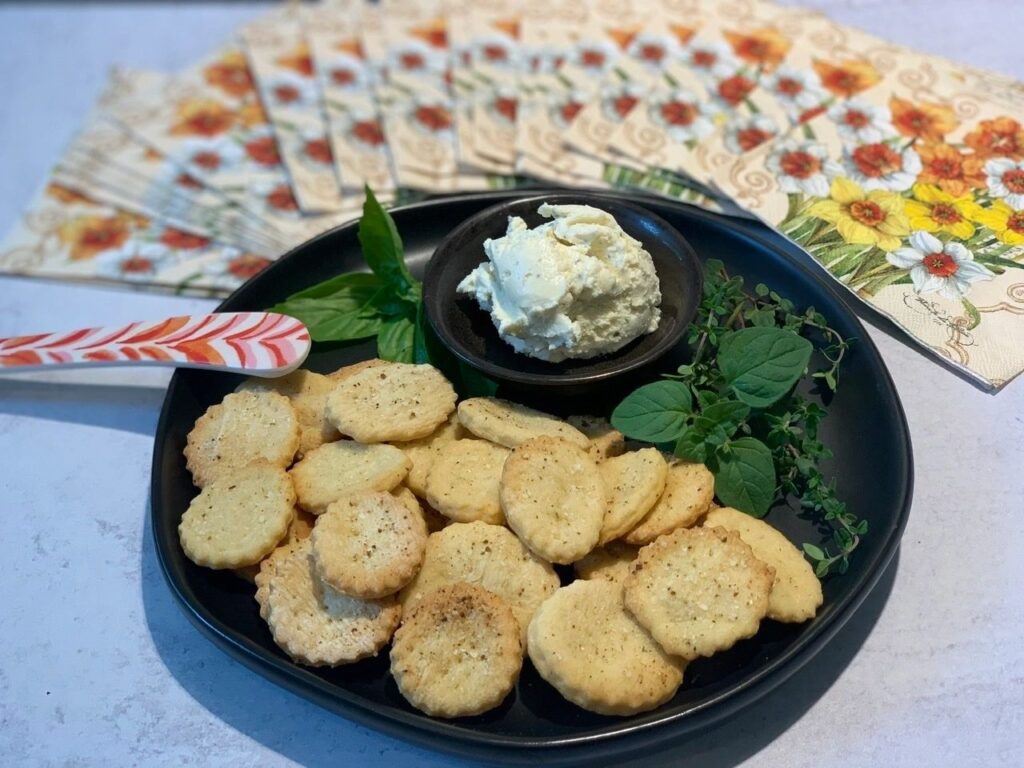
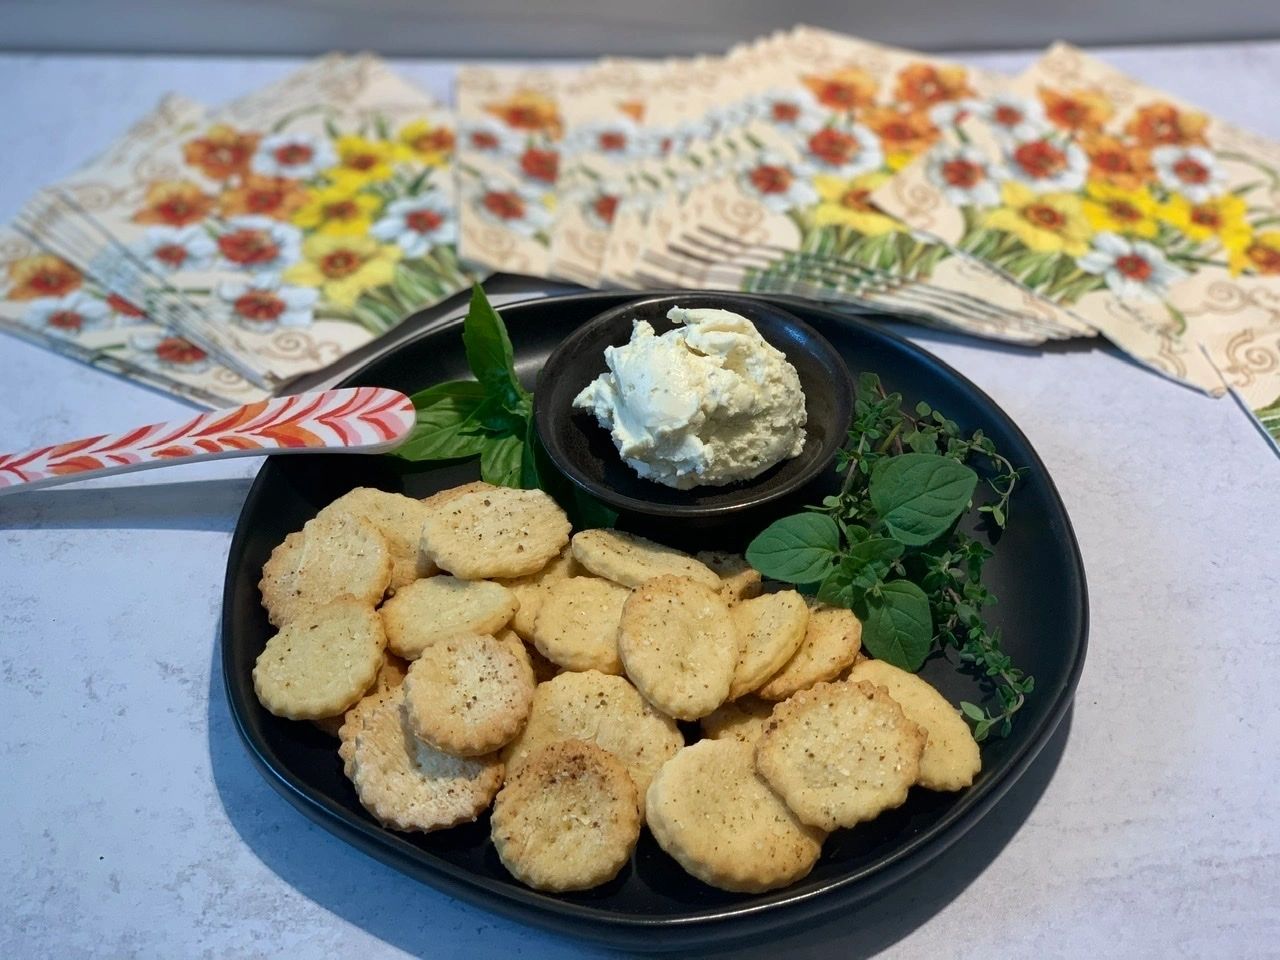
Homemade Soda Crackers
This recipe is based on the traditional soda cracker recipe from the King Arthur Baking website. We have also heard that you can freeze the dough to bake just before guests arrive, but we have yet to try that ourselves! It’s on the “to do” list!
Ingredients
- 1 1/2 cups unbleached all-purpose flour
- 1 packet (2 1/4 teaspoons) instant yeast
- 1/4 teaspoon salt
- 1/4 teaspoon baking soda
- 1/4 teaspoon cream of tartar
- 2/3 cup hot water (about 120 F)
- 1 teaspoon sugar
- 2 tablespoons olive oil
- Toppings: sesame seeds, lemon pepper, grated Parmesan cheese, everything topping, sea salt
Instructions
- In a large bowl, combine 1 cup flour, yeast, salt, baking soda and cream of tartar. Stir in hot water, sugar and olive oil. Mix well to combine.
- Add the remaining 1/2 cup flour to form a workable dough. Place the dough on a lightly floured cutting board or pastry cloth and knead by hand until soft and elastic, approximately 5 minutes.
- Shape the dough into a ball and place it into a large, well-greased (or sprayed) bowl, turning the dough to coat all sides with the oil or spray. Cover with plastic wrap and refrigerate for at 18 to 24 hours.
- Preheat the oven to 425 F. Line two baking sheets with parchment paper.
- Punch down the dough with your fingers and place the dough on a lightly floured work surface.
- Using a rolling pin, roll the dough out into a rectangle about 1/16-inch thick. The dough can be very elastic and may want to shrink back to a smaller surface area, and if that happens, let the dough rest for about 5 minutes and try again.
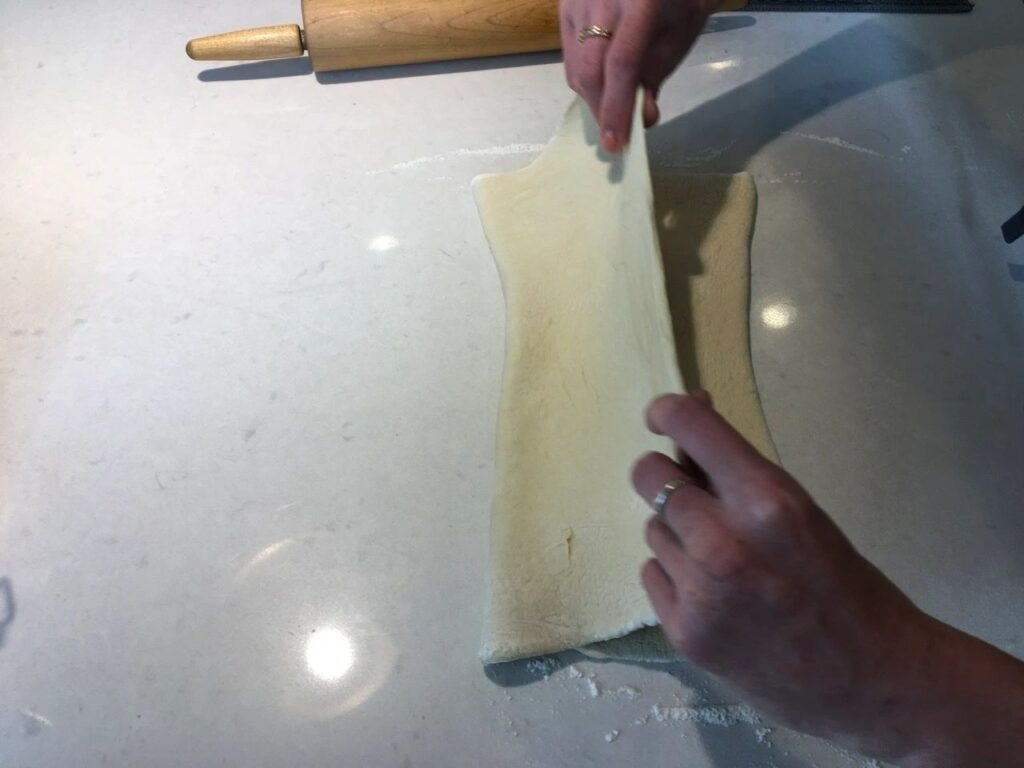
- Once the dough is rolled into the large rectangle, fold the dough into thirds exactly like how you would fold an 8×11 inch letter. Dust the surface of the dough and the work area with a little more flour and roll the dough out again into another 1/16-inch rectangle.

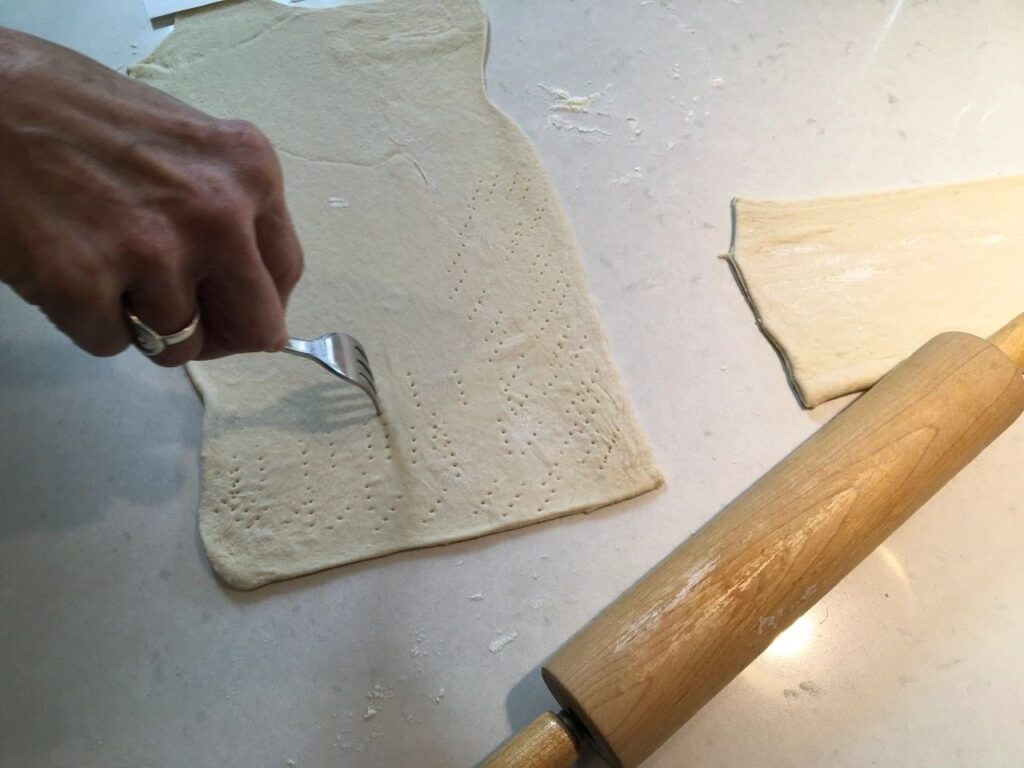
- Using a fork, prick the dough all over the surface.

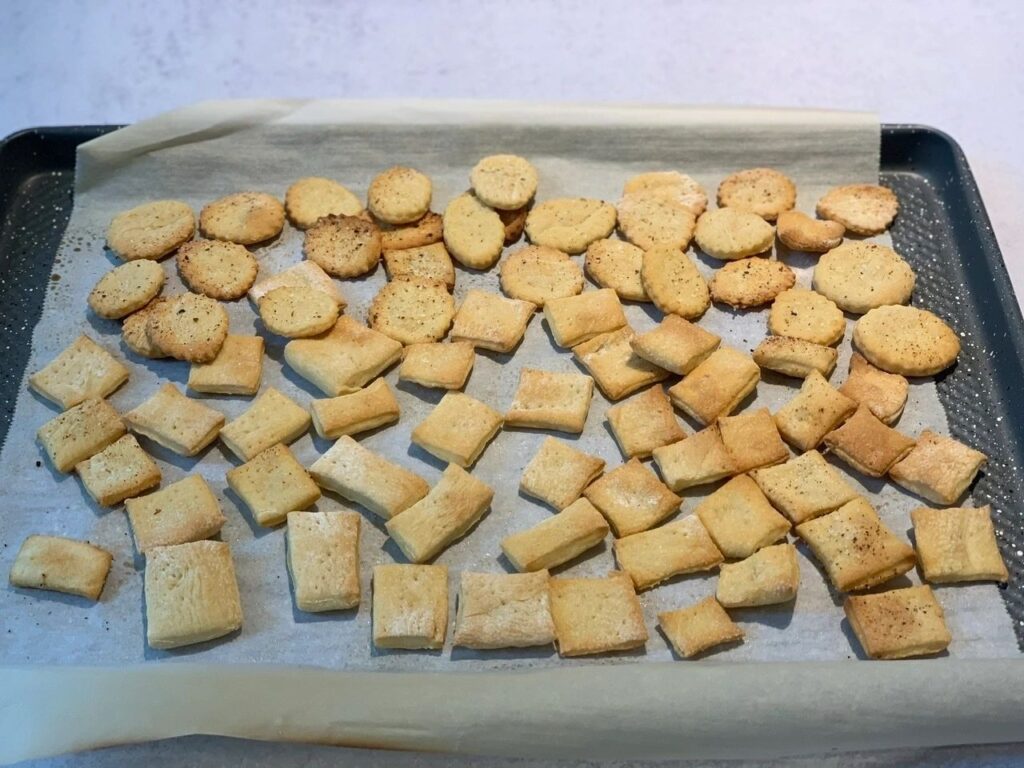
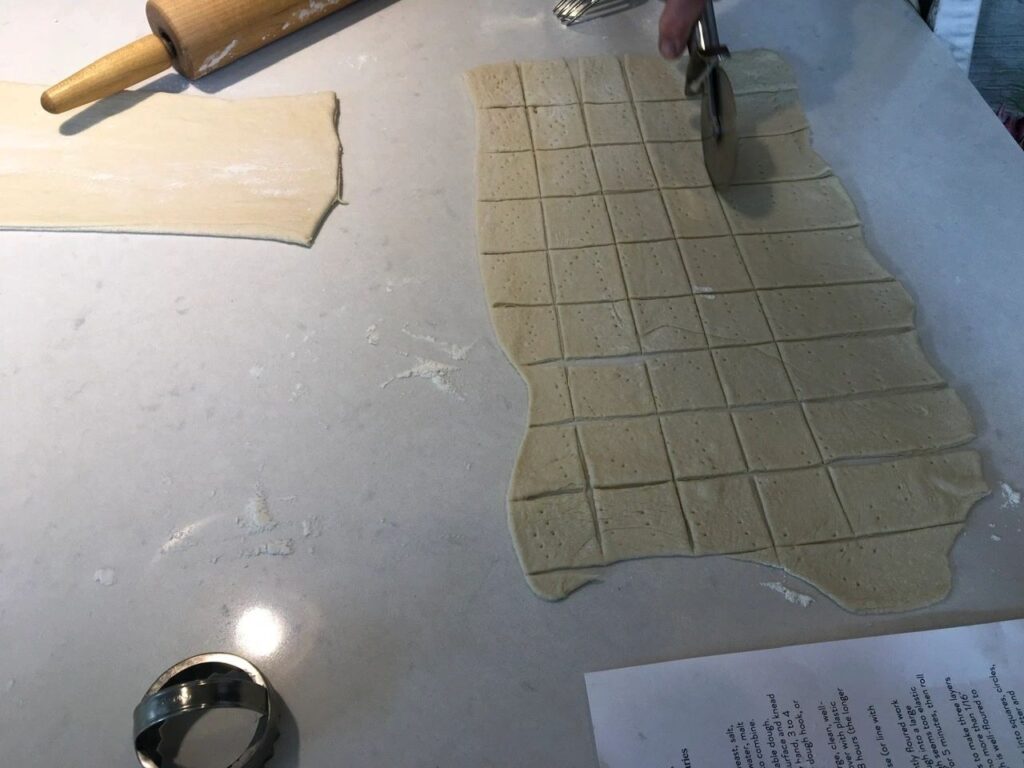
- Using a pizza cutter or a biscuit cutter, cut the dough into the size and shape you like.
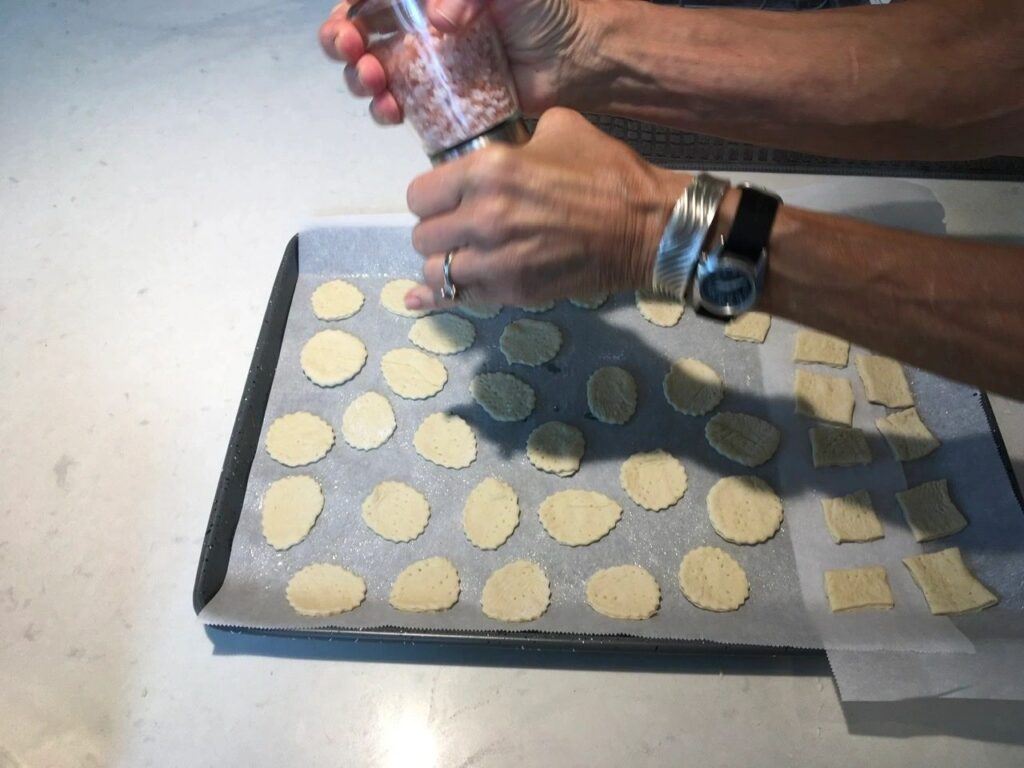
- Transfer the crackers to the prepared baking sheets, leaving space in between each cracker so they don’t touch.

- Sprinkle the dough with your toppings of choice, pressing any seeds or salts gently into the dough with your fingers or the back of a spatula

- Bake the crackers for anywhere from 10-20 minutes, depending upon the size of the crackers and thickness of the dough, until they are lightly browned and crispy.
- Remove the crackers from the oven and cool completely on a wire rack.
- Store in an airtight container.
Notes
*Note – King Arthur Baking brushed the crackers with melted butter as soon as they come out of the oven. We opted out of adding butter to the crackers in order to keep them more crispy. They also say the crackers will store in an airtight container for up to two weeks, and we found that they stay fresh for only a day or two, so best to make them as close to when you want to serve them as possible.

So glad I found this recipe, because my husband and I were just talking about making homemade crackers. It has always seemed daunting, but your step-by-step guide is giving me confidence. Can’t wait to make these!
This was a fun experiment for us too. The crackers are really good, and I’ll bet you could do them with gluten-free flour. It’s kind of funny, because no matter how much you roll them out, then tend to bounce back and shrink, at least with all-purpose flour. So they end up being almost bite-sized! Let us know if you make them:)