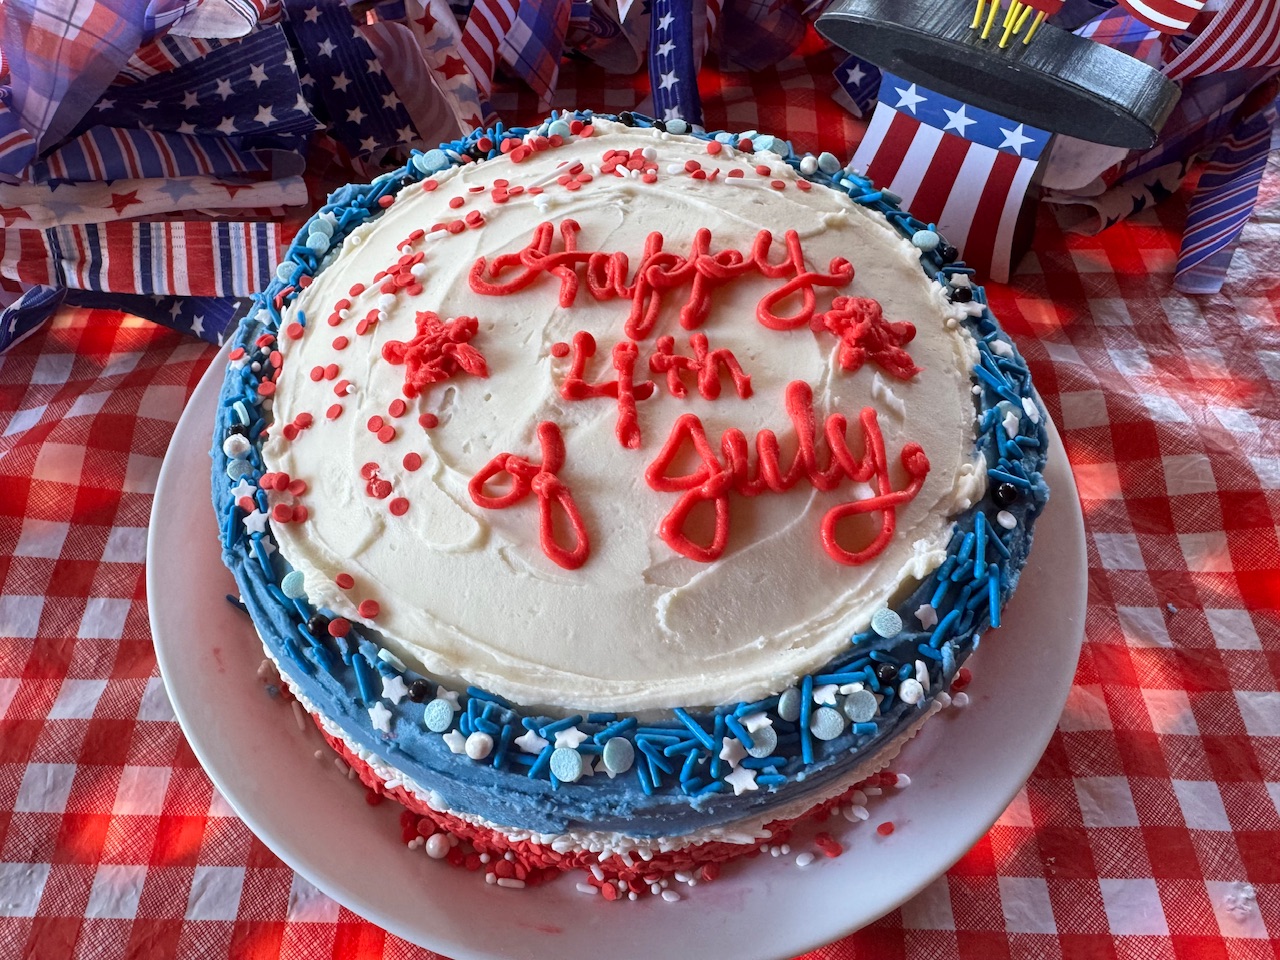
July 4th Vanilla Ombre Layer Cake with Red, White & Blue Buttercream Frosting
Delicious July 4th vanilla layer cake with Red, White & Blue vanilla buttercream frosting
Equipment
- 1 small offset spatula
- 1 large frosting spatula
- 2 8-inch round layer cake pans
- parchment paper for lining cake pans
- 1 standing mixer or hand-held electric beater
- 3 colors of sprinkles red, white, blue
- 3 colors of food coloring gel Red Rouge, White Blanc, Navy Marine
Ingredients
Vanilla Layer Cake
- 4 oz. unsalted butter (softened to room temp)
- 1 1/2 cups granulated sugar
- 3 tsp. pure vanilla extract
- 4 large eggs
- 1/4 cup vegetable oil
- 2 cups all-purpose flour
- 2 1/2 tsp. baking powder
- 1/2 tsp. salt
- 1 cup milk
Vanilla Buttercream Frosting
- 12 oz. unsalted butter
- 32 oz. powdered sugar
- 3 tsp. pure vanilla extract
- 1/4 cup milk
- red food coloring gel - Red Rouge (We use Satin Ice food color gel by Satin Fine Foods, but any good food gel will work)
- white food coloring gel - White Blanc
- blue food coloring gel - Navy Marine
- red edible sprinkles/confetti
- white edible sprinkles/confetti
- blue edible sprinkles/confetti
Instructions
Vanilla Layer Cake
- Preheat oven to 350℉. Cut out parchment paper to fit in the bottom of your cake pans. I like to leave 2 tabs on the parchment paper for lifting the cake layers out of the pan. Spray the sides of the pans and the parchment liner with PAM or cooking spray. Set pans aside for now.
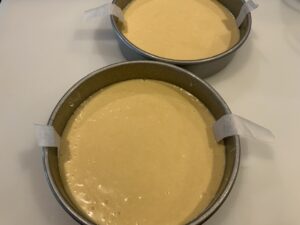
- Blend flour, baking powder and salt in a small bowl. Set aside. Measure out milk and set aside.
- Place the butter in the bowl of your standing mixer and beat on high speed until light and fluffy. Turn speed down and slowly add granulated sugar. Once all sugar is added continue to beat for another minute or so. Add vanilla and mix well.
- Add eggs, one at a time, beating well after each addition. Continue to beat until well incorporated. Beat in oil.
- Now, add flour mixture and milk alternately, beginning and ending with flour mixture.
- Evenly distribute the cake batter between the two prepared cake pans. Gently drop the pans on the counter to get rid of any air bubbles. Bake for 25 minutes, or until a tooth pick comes out clean. Remove from oven and cool on a metal cake rack. When completely cool removed from pans.
- At this point, you can begin to frost the cake, or you can wrap the cake layers in plastic wrap and refrigerate until ready to frost.
Red, White & Blue Buttercream Frosting
- Place the butter in the bowl of your standing mixer. Beat on high speed until creamy and light in color. Slowly add powdered sugar, about 1 cup at a time and beat on low until incorporated. After you’ve added about 3 cups of the sugar, add the vanilla and a little bit of the milk. Continue to beat until creamy and smooth. Alternating between sugar and a tiny bit of milk at a time, beat until you’ve used up all but about 1 cup of the powdered sugar. Reserve this in case you need to add more if you get the frosting too soft.
- At this point, you have to do a consistency check to see that the frosting is spreadable — not too thick and not too runny. Add a little more milk if too thick, and a little more sugar if too thin.
- Divide the frosting into 2 bowls. Use one half as is for frosting in between layers and doing the crumb layer on the top and outside edges of the cake. Divide the the other half into 3 smaller bowls for coloring into red, white and blue. Add a tiny bit of food coloring gel at a time to get the right coloring. I found that I needed quite a bit of the red to get it to the nice red color, and we stopped when the blue got to a denim blue color, because that is what we wanted.
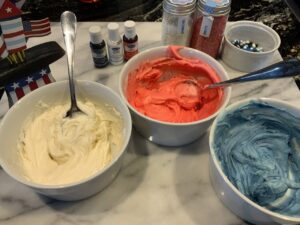
Frosting and decorating the cake
- If your cake layers look like a dome on top, cut off enough to make the cake flat using a bread knife. Save the scraps for snitching or having with coffee.
- Lay one cake layer on your cake plate. Spread the top and sides of the layer with the plain vanilla frosting. Distribute a layer of sprinkles over the frosting on top of the bottom layer.
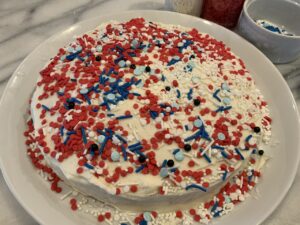
- Lay the second layer on top and frost the sides and top of the cake to completely cover the cake with your crumb coat. Refrigerate for 30 minutes or so. Can refrigerate overnight and continue with the frosting the next day.
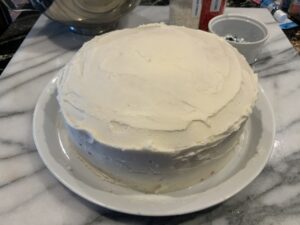
- Now it’s time to make your ombré colors on the sides of the cake. Place a bowl over top of the cake if you want the blue frosting to come up a little bit over the top of the cake. Using the small off-set spatula, frost about 1 inch or so of red frosting all around the sides of the cakes. Repeat the process with the white and blue frosting. We put a little edge of the blue frosting on the very edge of the top of the cake, too, for the effect we wanted.
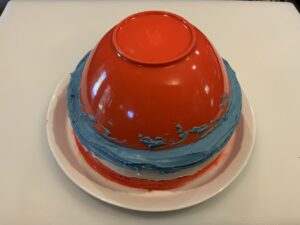
- Using your long frosting spatula dipped in a little bit of water, smooth out the sides of the cake. You will want to have the spatula right up against the sides of the cake applying a little bit of inward pressure. Refrigerate cake for another 30 minutes. Repeat the ombre frosting process with a second coat of frosting.
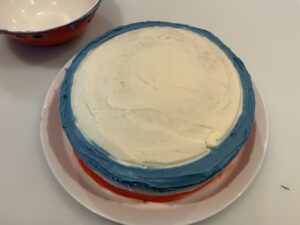
- Gently press the sprinkles into the sides of the cake wherever you would like them.
- Spread some of the white frosting over the top of the cake up to the blue edges and smooth out.
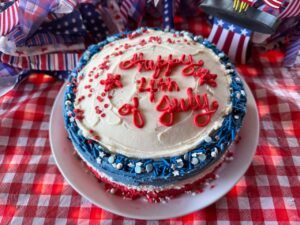
- Using a small round cake decorating tip, write your message on top of the cake with either blue or red frosting. Sprinkle away over the top of the cake.
- Refrigerate cake until ready to serve. Remove from the refrigerator about 30 minutes before serving.
Notes
- We like to leave a little tab on two sides of the parchment paper liner to make it easier to lift the cake out of the pans once they are baked and cooled. See photo in directions.
- We use a lot of frosting for this cake, because we first do a complete crumb layer of frosting around the cake in order to smooth out all of the edges.
- The second layer of frosting is to get the ombre effect. Let that chill in the refrigerator for several hours or overnight.
- Finally, spread your final ombre layers, and right away apply the sprinkles while the frosting is still sticky and moist.
- A nice trick for getting your ombre frosting smoothed out, is to use a long frosting spatula dipped in a cold water and hold it very firmly against the sides of the cake while you spin the cake on the cake spinner, to smooth out the frosting.
- We use a small spoon to get the sprinkles to adhere onto the frosting.